Sunday, July 23, 2017

Worn Cover


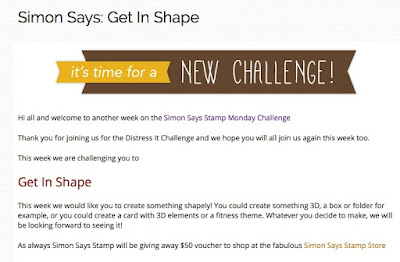
Oh this challenge was the most fun!  I have had a week to get my entry ready for the latest Simon Says Monday Challenge. Here are the details on this challenge:
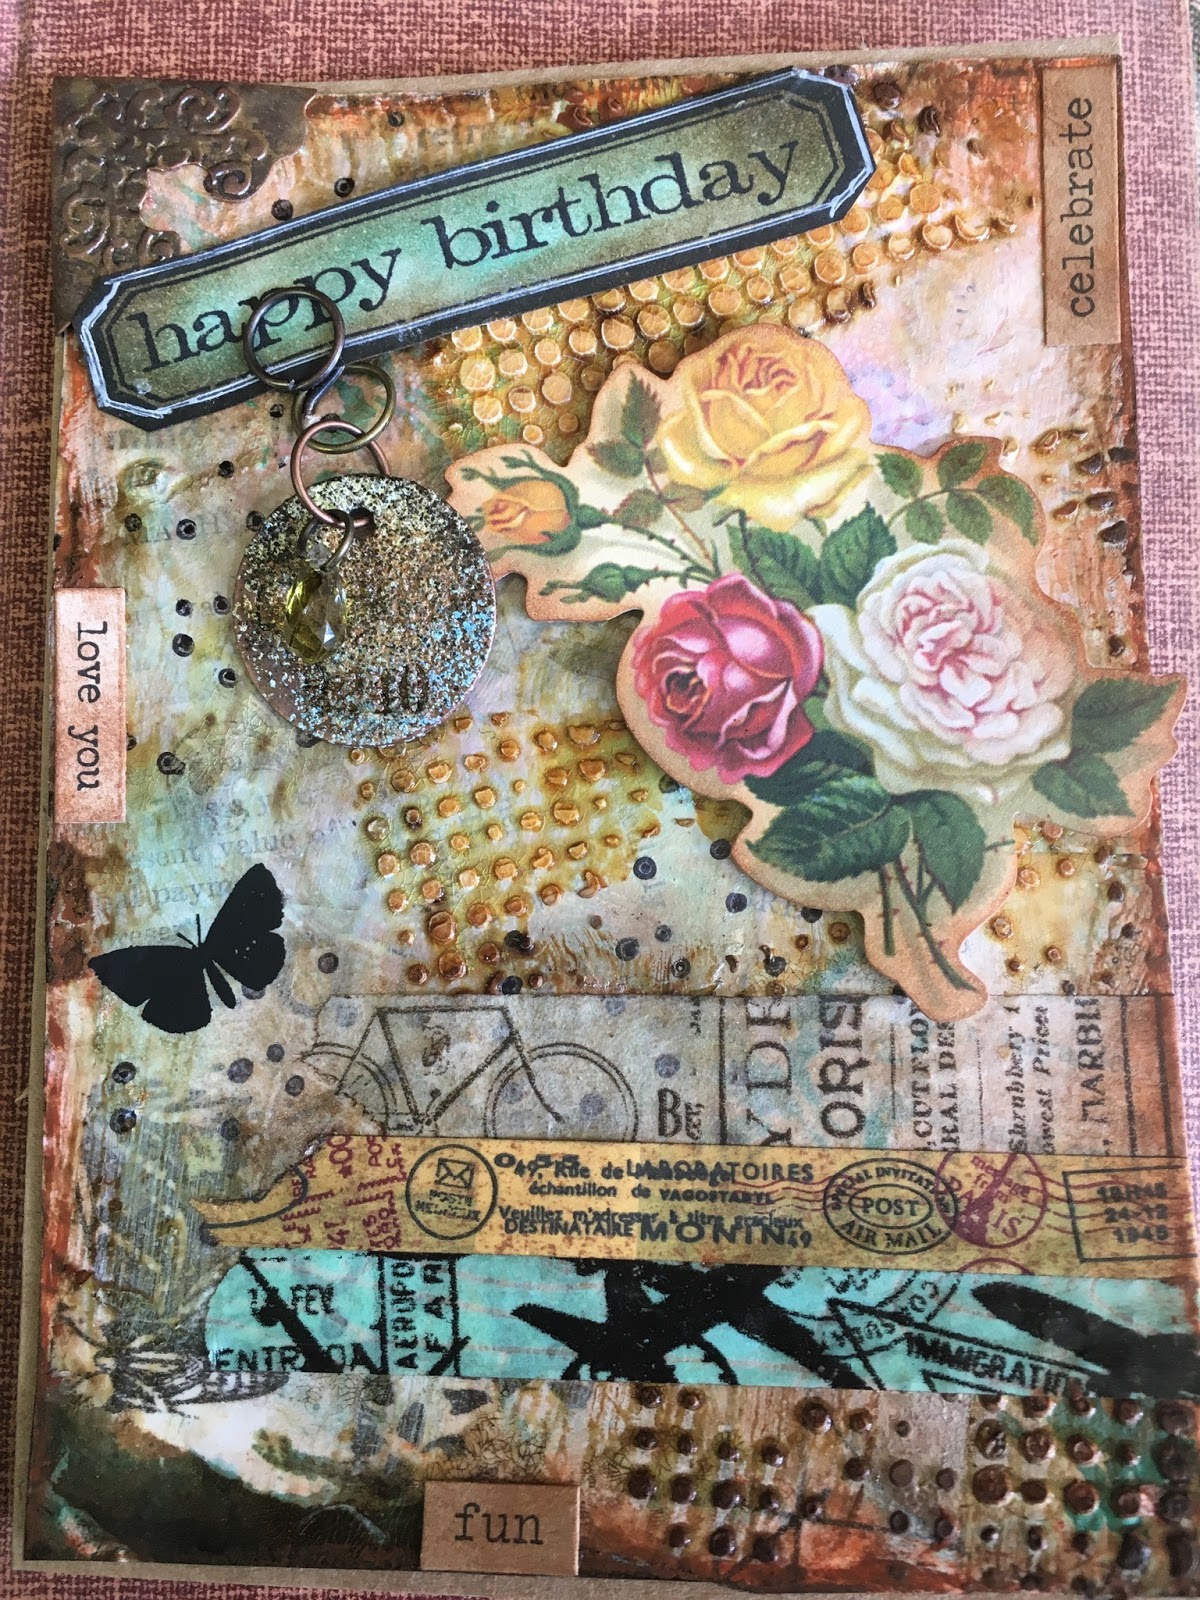
Ever since I took Tim Holtz's Creative Chemistry classes I have been wanting to put together 3 books using his Worn Covers to house my tags I created. These were tags he had us do to learn various techniques and the instructions are on the back of each tag. The Get In Shape challenge was the answer! I created my first volume which will house my Creative Chemistry 1 class tags. I had so much fun putting this together!


My Favorite Part
I cannot choose between two things! I love how the Steampunk Gears turned out. The photos really don't do it justice; they have a very old metal look to them with a beat up texture. I also love how my word Distress turned out.  

What I Would Do Differently
I spent quite a bit of time working on the big number 1 that I eventually didn't use. When I placed it on the cover it just felt like it took away from the other items on there. So I decided to move the small 1 from the spine to the cover. My gut told me from the beginning that the big number 1 wasn't going to work, but I didn't listen. I also would have moved the block Moments word up slightly so the photo and the washi tape didn't show through.

Supplies

Surfaces: Tim Holtz Worn Cover, Tim Holtz idea-ology Paper Stash - Menagerie

Distress InksVintage Photo, Salty Ocean,Walnut Stain, Broken China, Frayed Burlap, Mustard Seed, Rusty Hinge, Wild Honey, Black Soot, Hickory Smoke. 

Distress Stains: Vintage Photo

Alcohol Ink: Tim Hotlz Adirondack Mixatives in Gold and Alcohol Ink in Aqua

Distress Paint: Antiqued Bronze, Antique Linen.

Die Cuts:  Tim Holtz Sizzix Alterations - Steam Punk, Tim Holtz Sizzix Alterations ThinLits - Woodlands, Tim Holtz Sizzix Alterations ThinLits - Friendship Words: Block

Mediums: Ranger Multi Medium Matte

Embellishments:  Tim Holtz idea-ology Tissue Tape - Commute, Tim Holtz idea-ology Salvage Stickers, Tim Holtz idea-ology Photo Booth.  Tim Holtz Philosophy Tag, Jump Rings, and small bird. Tim Holtz idea-ology Alpha Parts - Signmaker, Tim Holtz idea-ology Chit Chat.  Tim Holtz idea-ology mirrored star  

Stencil: Tim Holtz Clockwork, Gears, Nordic

Tools: Craft sheet, heat tool, sanding grip, Ranger Glossy Accents

Embossing: Distress Embossing Ink, Ranger Embossing Powder in Clear

Some Details
1.  After using Distress Stain Vintage Photo over entire cover and splattering it with Distress Ink Salty Ocean, I rubbed in Distress Ink Broken China and Mustard Seed in random areas. It isn't on the photo below, but I also used Distress Paint Antique Bronze randomly on the edges.


2. Left hand inside cover: Distress ink walnut stain, rusty hinge, wild honey, black soot with Clockwork stencil THS013

3. Right hand inside cover: Used the sanding block on the letter E, distressed with Vintage Photo and then sanded it again.  


4. Back of book: globe from Tim Holtz idea-ology Paper Stash - Menagerie
Here is how I did that large number 1 that I decided not to use. You can see it to the right of the book in the above photo and in the middle of the book in the photo below. I will try and add a better photo of it later. Tim Holtz idea-ology Alpha Parts - Numeric.  Used Distress embossing ink with Ranger Distress Glitter - clear rock candy and American Crafts Brand Spark! Tinsel Glitter. Distressed with Distress Paint Antique Linen

Piecing it together


I would love to know what you think; please leave your comments below. Also, if there are more instructions you would like on anything or if you have any questions, please leave it in the comments below as well.
Happy crafting!
Evelyn

Sunday, July 16, 2017

Distress It Birthday Card


Hello friends!

Thanks for joining me for my latest creation that I made for my Mother-In-Law's birthday and to enter into the latest Simon Says Stamp Monday Challenge.

Distress It 
There are many ways to distress and age a project, from inking and sanding to scraping along the edges with a paper distresser or a sharp pair of scissors. We will be looking forward to seeing how you distress your creation!
As always Simon Says Stamp will be giving away $50 voucher to shop at the fabulous Simon Says Stamp Store

I love everything vintage especially my creations; it is my favorite style of creating! 
I used this opportunity to really play with the products that I already own. You will find my Supply List below. I am a firm believer in learning by doing and that includes the learning from the mistakes you make along the way. My biggest lesson learned from this creation was that sometimes less is more. I layered so much that you can't really even see the Tim Holtz Melange Tissue Wrap or the page I used from an old math text book.

My Favorite Part
My favorite part of the card is the washi tape. I have oodles of washi tape that I use on the envelopes but often forget to use it on cards. I love how it turned out on the card. As you can see, I have quite the collection. I used to keep them in this cool old lard can that I have, but found myself always dumping it out to see its contents. I got this organizer from Stamp N Storage (right here in Minnesota!) and find it way more practical!


What I Would Do Differently
  • I would use less Distress Powder (if any) on the tag. The word (Cherish) and number got totally lost.
  • Less textured dots. I would have only used them in one area.
  • I wouldn't have used the black dots stamp at all. Maybe just a bit of flicks with the paintbrush instead.
  • I would have pinned the Happy Birthday on the right side of the card. That way more of the embellishments would be centrally located instead of all over the place. When I look at the card, my eye doesn't know where to rest.

Supplies

Surfaces: Neenah 80# Solar White card stock. Kraft precut and folded card (I get these locally from Anchor Paper). Tim Holtz Idea-ology Tissue Wrap Melange. A page from an old math textbook.

Distress Inks: Walnut Stain, Mermaid Lagoon, Broken China, Frayed Burlap, Evergreen Bough, Cracked Pistachio, Vintage Photo, Tea Dye, Evergreen Bough. 

Distress Ink Refill Bottle: Walnut Stain.   

Ranger Dye Ink:  Black Tie.

Alcohol Ink: Tim Hotlz Adirondack  in Lettuce (used to color the mimi gem which is attached to the tag)

Distress Paint: Antiqued Bronze, Lucky Clover.

Distress Spray Stain: Scattered Straw.

Distress Crayon: Rusty Hinge (along edges and blended with finger).

Mediums: Ranger Multi Medium Matte, Gesso in white, Liquitex Professional Modeling Paste Gel Medium, Nuvo Embellishment Mousse in Pink and Aquamarine (very thin layer rubbed in with my finger), Distress Crackle Paint Clear Rock Candy.

Embellishments:  Various Washi tapes, Tim Holtz Corner, Philosophy Tag, Jump Rings, Memo Pin, Stickers from Chitchat - Seasonal, Stickers from Small Talk, Ephemera - Emporium, and Remnant Rubs - Botanical. Mini Gem -- source unknown.

Stamps: Stamping Up Stamp Dots, Tim Holtz Saying Stuff

Stencil: Tim Holtz Dot Fade

Tools: Craft sheet, heat tool, sanding grip, Ranger Mister, white gel pen, Mini Misti

Distress Powders: Walnut stain, Turquoise, Antique linen


Thank you for visiting! I would love to hear what you think; feel free to comment below. Have a blessed and happy week!

Evelyn


Sunday, July 9, 2017

Freedom is not free...

Hello everyone! We are already in July..why does summer have to go so fast? We celebrated Independence Day this week so my weekly project was a tag commemorating the day. It was inspired by the MONDAY CHALLENGE over at SIMON SAYS STAMP, (Red White and/or Blue) and I plan to hang it in my office with my other tag creations.


I love the Simon Says Stamp challenges because they force me to challenge myself to come up with my own ideas using the supplies I already have. This tag was inspired by Tim Holtz whose style is similar to my own. 


What I Would Have Done Differently

I am going to start off my projects with this section so that hopefully you can learn from my "mistakes."

1) I would have used a Ranger tag instead of this off brand manilla tag that I used. It is thin and flimsy and the finished product feels cheap in my hand.

2) I would have only sprayed Perfect Pearls Mist on my finished tag and not Distress Spray Stain. The stain covered up too much of my stamps; they got a bit lost under the stain.

3) I would've skipped step 5 below; after all was said and done, you can't even see the splatters made.

4) Lesson learned -- the Alpha Parts used in Step 7 will melt when drying with a heat gun!

The Project -- Step by Step


1) I stamped a couple of images using Tim Holtz Stampers Anonymous Mixed Media (CMS125), particularly the bigger dots and the grid lines. I didn't use an acrylic block with these, just stamped them randomly and not perfectly. I used Ranger Dye Ink Pad in Classic Cherry and Blue Ribbon.


2) I then stamped the United States from the Lawn Fawn Wish You Were Here stamp set, the American Flag from Tim Holtz Stampers Anonymous Crazy Things (CMS237) and the man from Tim Holtz Stampers Anonymous Paris to London (CMS160). I stamped these using Ranger Archival Ink in Jet Black.


3) Next I used the Tim Holtz Texture Fades Compass. I cut a small slot in the middle of the folder fold so that I could slide the tag in where I want it placed. I ran it through my Big Shot.


4) Then comes the fun! I used Tim Holtz Distress Ink in Dusty Concord, Crushed Olive and Blueprint Sketch and really grinded it into the embossed compass. The other areas I used the typical circular motion with the distress ink, covering the entire tag. I then used Vintage Photo in random areas and along the edges. I loved how the colors turned out! And they really made the embossed compass pop!


5) I used Tim Holtz Distress Stain in Broken China and Barn Door to create small splatter marks. I put some on my Craft Sheet and misted them with a bit of water to thin them out. Then I dabbed a paint brush in them and flicked it so it splattered on my card. Honestly -- this always seems like such an easy thing to do, but I always struggle with the flicking part!


6) I took 3 of the Tim Holtz Mirrored Stars in different sizes. For two of the stars I used the Tim Holtz Alcohol Ink in Cranberry and Aqua and dribbled it on the stars and let them dry. The third star I did the same thing but used Tim Holtz Adirondack Mixatives in Gold.


7) I then used the word Four from the Tim Holtz Alpha Parts - Numeric. I used Distress Paint in Picket Fence and dabbed it on and then let dry. Then I used Distress Paint in Antique Bronze, dabbed it on over the Picket Fence and let it dry.


8) I colored some off-white paper flowers I had with Distress Ink in Fired Brick and Vintage Photo. I did the same with some Tim Holtz idea-ology Linen Ribbon.


9) I took some words from Tim Holtz idea-ology Chit Chat - Seasonal and distressed them using a black marker along the edges and Distress Ink in Vintage Photo. I did the same with an Air Mail piece from Tim Holtz idea-ology Ephemera Pack - Emporium.


10) Next came assembly. I used TPC Studio Gold Metal Accents for the centers of the flower.


11) I sprayed a bit of Distress Spray Stain in Tarnished Bronze and Aged Mahogany onto the tag randomly. I then finished it with a fine mist of Perfect Pearls Mists in Interference Red.


I hope you like my creation! Please leave your questions or comments below; I would love to hear from you!
Happy crafting!
Evelyn

Thursday, June 29, 2017

SSS Wednesday Challenge -- Anything Goes!

Hello paper crafters! I am here today with a card I made using the "Wild Cuddly Critters" stamps from Simon Says Stamps.

Those critters are super cute; right?!

I am linking this card up to the following challenge:

1) Simon Says Stamp Wednesday Challenge Blog: Anything Goes

They are showcasing Art Impressions products for this challenge. I used the Art Impressions Mini Action Wobbles for my card.


I made this card with my nephew's birthday in mind. The Action Wobble makes it perfect for kids!

I cut a rectangle from Neenah 80# White Cardstock and used Distress Inks to watercolor it. I then stamped the two hearts several times, overlapping the outer edge. Using Distress Inks again, I watercolored the hearts to make them pop from the page slightly.

I then used a #5 Kraft Tag. I put down a few blue Distress Ink colors on my craft paper and added some water, making it really wet. I then dragged my Tag through the puddly mess and dried it. I did this a couple of times until I got the look I wanted.

Next I used the dot stamp from Tim Holtz Stampers Anonymous Mixed Media CMS125 stamp set. I used another shade of blue in Distress Inks and stamped it off the side. I then sprayed the tag using my Ranger mister to give it some small water dots.

Off to the side of the tag I stamped Wild About You from the stamp set using black ink and then colored it in with a blue Spectrum Noir marker. I attached the tag at an angle on the card.

I stamped the lion from the stamp set and fussy cut him out after coloring him with Spectrum Noir markers. I watercolored a heart I cut out freehand, stamped versamark over it and embossed it with clear. I then attached the heart to the lion.


I used one of the Art Impressions Mini Action Wobbles to attach the lion to the tag. He looks so cute when I flick him slightly and he wobbles!


I also stamped the little red hearts using the stamp from the set and Watermelon from the Fresh Fruit Simon Says Stamp Hybrid Stamping Ink Cube Pack. 

I hope you enjoyed my first attempt at a challenge, and my first attempt at blogging about my paper crafting!

I welcome any comments below and I appreciate your visit today!
Evelyn